
So, why aren’t Windows PC’s capable of running OS X? Well, Windows PC’s are capable of running OS X. But, it is against Apple’s licensing agreement to do so. Thus, this article is intended for educational and demonstration purposes only. If you want to run OS X the best way possible, get a Mac.

*In order for this to work, your computer must have a processor that supports virtualization. If it does not, you may receive errors. For the most part, any newer processor lines: Core 2 Duo, Quad Core, and Core i7 should all work fine.
But, don’t expect to not get errors if you are using an older Pentium 4 machine. The processor must be Intel and not AMD*
Because we will be installing OS X on top of Windows through a virtual machine, the first step is to get some virtual machine software. For this demo, we will be using VMware’s Workstation 7.
If you do not feel like purchasing Workstation 7 at this time, you can get a limited trial here. The download may take a good half an hour to complete. Workstation is a 512MB file.

Upon download, go ahead and install Workstation 7 onto your computer. The installation process is very simple just launch the installer, and the VMware installer will guide you through the rest.
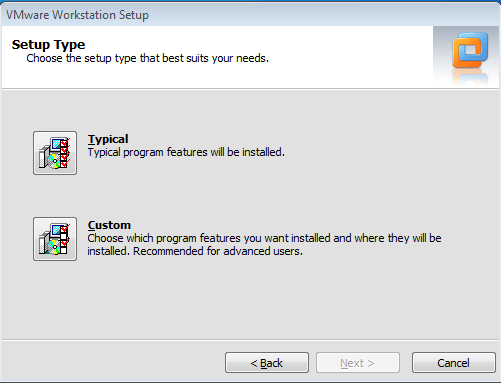
One thing to note, when it asks your if you want to do a custom install or a typical install, choose typical install. After the installer finishes, restart your computer.
Now that you have Workstation 7 installed, you need a pre-configured VMware virtual machine file to install Snow Leopard on top of. Download this file (alt download) and save it to your desktop.
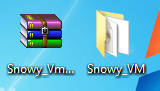
After you have the pre-configured virtual machine file downloaded, you will need to extract the files using WinRAR or another archive utility. If you do not have an archive utility, you can get WinRAR here.
Note: This file is just a disk image framework, no viruses or anything like that. VMware Workstation uses the disk image format to save and contain virtual machines.
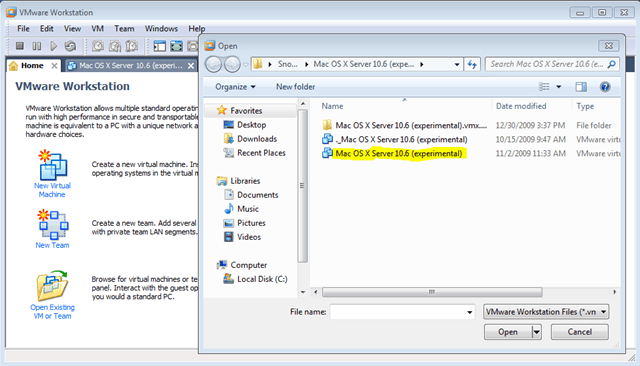
Time to start installing Snow Leopard. Launch VMware Workstation by using the path Start > All Programs > VMware > VMware Workstation. Open up the VMware disk image framework that you just downloaded and extracted.
Select File > Open. Navigate to your Snowy_VM folder, open it, open up the next folder that says “Mac OS X 10.6 Server (experimental).vmwarevm, and choose the 2KB file that is named Mac OS X Server 10.6 (experimental). Click the open button to load the virtual machine.
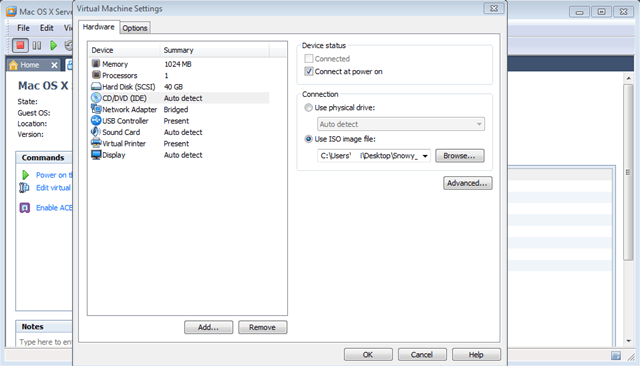
From the Mac OS X Server tab in the VMware Workstation window, click the edit virtual machine settings icon. You may adjust the hard drive size, memory, etc, to your liking.
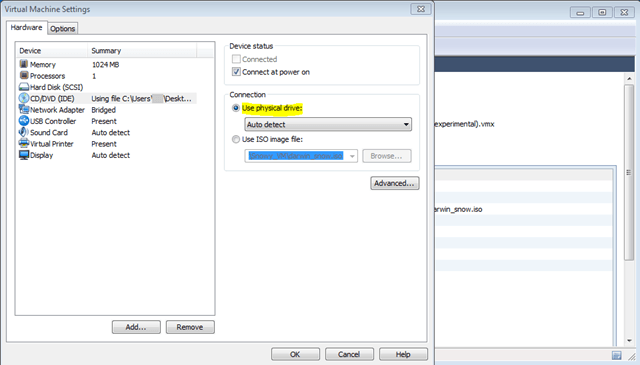
Select CD/DVD (IDE) and under the Connection settings, select Use ISO Image File. Click the Browse button and navigate to the Darwin_Snow.iso which is located in your Snowy_VM folder. Click the Open button to select the virtual machine.

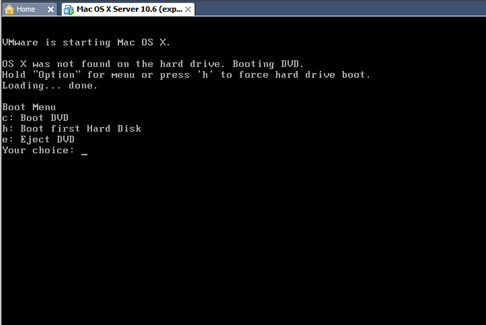
Now it’s time to power on the virtual machine. Click the Power on this virtual machine option. As soon as the process starts, hold down the F8 key on your keyboard. You should be prompted with a boot menu screen.

If you have not done so already, insert your OS X Snow Leopard Install DVD into your computer’s CD/DVD drive. So far, you have loaded a workable virtual machine and framework into VMware Workstation.
Now it’s time to actually install Snow Leopard onto that virtual machine disk image. You should see some settings icons located at the bottom right portion of the VMware window. Right-click the icon that looks like a CD and choose settings from the pop up menu.

Under the connections listing, change the options from use ISO image to use physical drive. After you have done that, click the Save and Exit button.
Go back into the boot screen and select the option C Boot from DVD. Press the F8 button on your keyboard for advanced options and type “-v” without the quotes and hit enter. Now, VMware Workstation should boot your Snow Leopard install disc. It may take a couple of minutes to load.
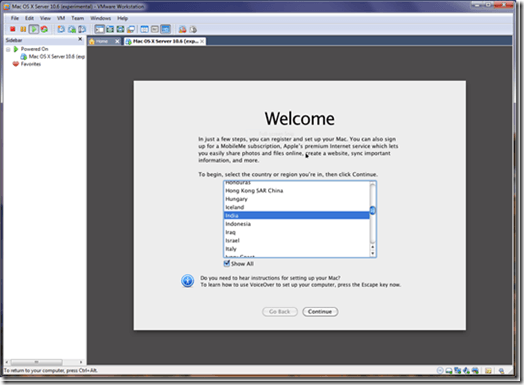
That’s all there is to it. You should now be at the normal Snow Leopard install screen. Click continue on the first screen that comes up. On the second screen, click the utilities option in the install window and select disk utility. Use disk utility to change the hard drive format type to OS X Extended (Journaled). Exit disk utility and let OS X install completely.
Upon install of Snow Leopard, your virtual machine will restart. After it restarts you will need to do a couple of things to get into Snow Leopard. Select CD/DVD options, like you did before, and use the Use ISO Image File option.
Browse to the Darwin_Snow.iso and select it. Now, upon powering on your virtual machine, it should boot directly into Snow Leopard. You may need to force a couple of restarts until Snow Leopard loads correctly for the first time. After it does, adjust your settings from within Snow Leopard, save, and you should be good to go.
Post a Comment