
The system fails to boot but I have no idea why
Boot with the flag -v and carefully watch to determine at which point the system stalls and eventually fails
System hangs at “PCI Configuration Began”
If this happens then you should try installing the patched kext IOPCIFamily.kext. You can download this here. Make sure to read the Readme file supplied with package.
My screen goes black (or grey) at boot
Open the file org.chameleon.Boot.plist (found in /Extra of your USB disk or harddrive) in a text editor.
Change: GraphicsEnabler=Yes to GraphicsEnabler=No (or the other way around)
Save
Reboot and try again
Incorrect processor or memory speed is displayed.
More than likely this is completely cosmetic, but it can be changed by using an appropriate /Extra/smbios.plist or editing one yourself.
My audio/USB/Ethernet was working but I updated OSX and now it’s not
This is a very common issue. Usually this doesn’t take too long. If you’re in a hurry to upgrade you can search the forum for information from others who have updated.
PS/2 Mouse and keyboard not working
This is pretty easy to solve. The reason I haven’t added support to the installer is simply because PS/2 is antiquated. Most people use USB mice and keyboards.
A kext I installed causes a kernel panic
Boot from the Lion USB stick you created, go to terminal, delete the kext and make sure you rebuild the caches through the terminal.
Sound is not working
Go to System Preferences -> Sound. Click “Output” and select Internal Speakers (for standard analog output)
Overall graphics performance is less than it should be
For certain graphics cards, MacPro4,1 and 5,1 smbios.plists initiate AppleGraphicsPowerManagement.kext which throttles framerates and general GUI performance severely. You can disable this kext or try to use a different smbios.plist.
I’m getting a boot0: error message
This happens when you have a partition that is 1TB or more. The only solution to this is repartitioning the harddrive (eg. 2x500GB). The new version of the chameleon bootloader resolves this issue.


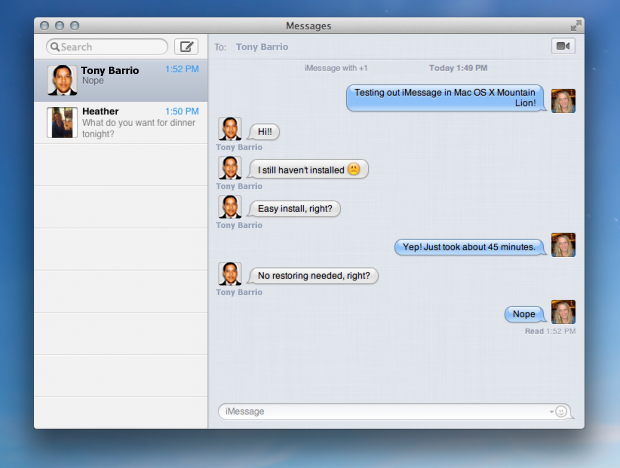
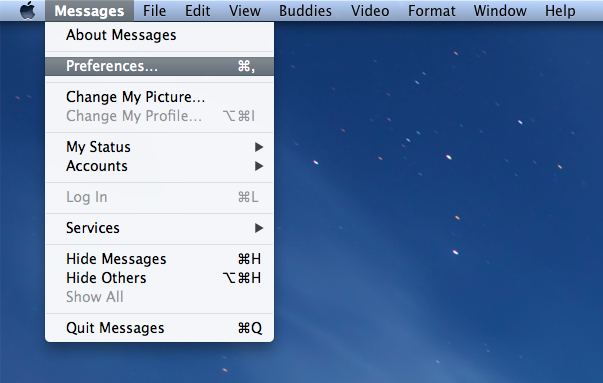
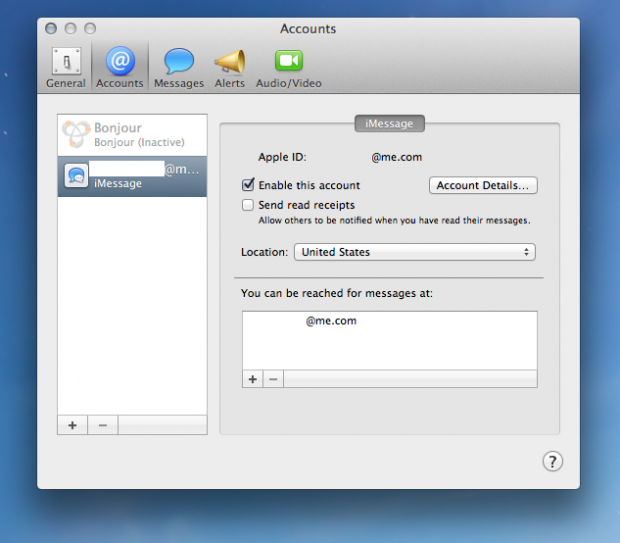
 Start and Setup the iMessage:


