
 Start and Setup the iMessage:
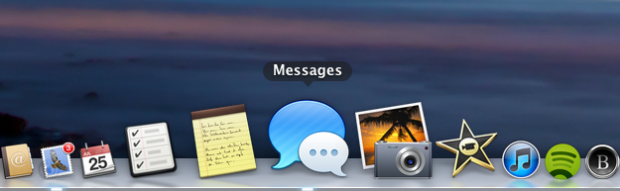
One your freshly installed Mountain Lion, you will see a blue bubble icon of iMessage in the dock. If you already have an iMessage account or already setup your iCloud login than you can skip to the next step.
Simply open the iMessage and add your Login and Password. That’s it! It will automatically enable your iMessage account.
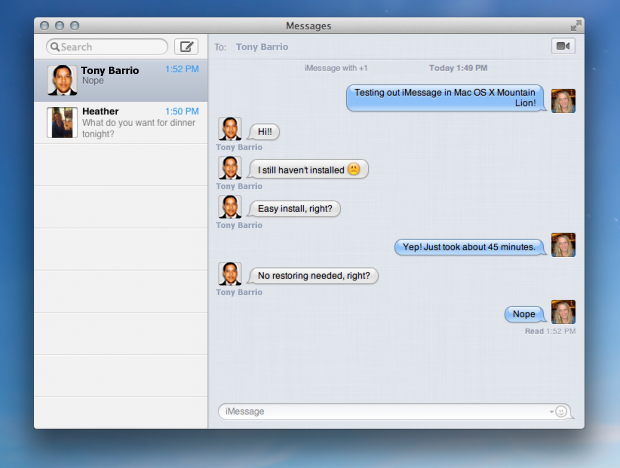
- Sending a message via iMessage:
- Open iMessage and in left corner click on the Create message button.
- After selecting the create button, Enter the name of Recipient.
- Enter your text message and Hit the “Send” Button.
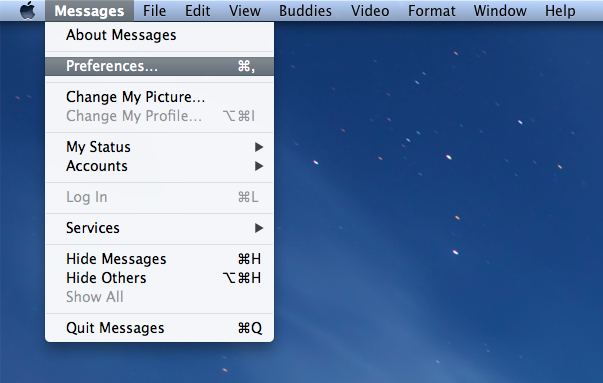
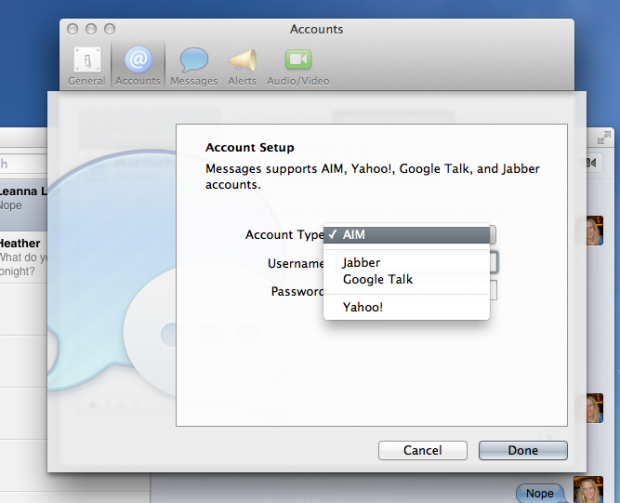
- How to add Non-Apple Accounts in iMessage?
This version of iMessage on Mountain Lion also supports the other IM clients such as Gmail, Yahoo, AOL and Jabber. However, you can’t add them simply; you can follow these steps to add a Non-Apple IM.
If you haven’t open the iMessage, open it and from the top bar Click on “Message” and then “Preferences”. It will open the settings related to iMessage.
Select the second one “Accounts”
From the Windows, select the “+” button and it will redirect you to a new window.
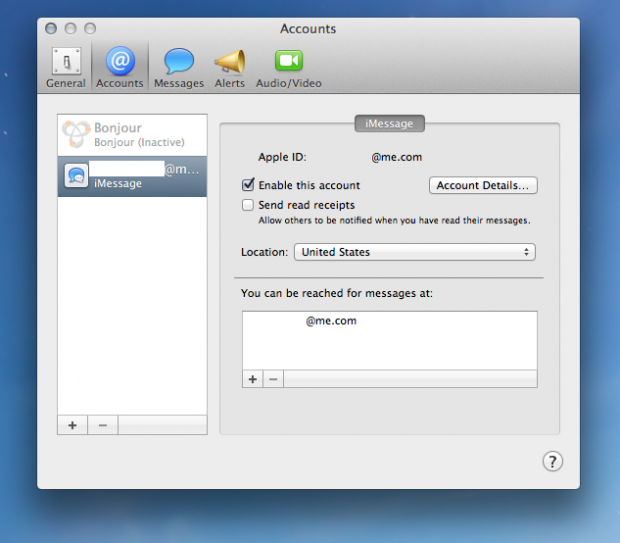
In here, you can add a Non-Apple IM account, after entering the details, Hit the “Done” button and you are good to go.
You have successfully set up and started using iMessage on your newly installed Mountain Lion OS.
Post a Comment